
Step by step flower pot drawing for kids
*This post may contain affiliate links. This means when you click on a link and make a purchase we may earn a commission at no additional cost to you. Our goal is to provide valuable and helpful content. Any commission made can help us maintain this site and provide more quality and helpful content for our readers.*
Flower pots come in different kinds of shapes and styles. Drawing a flower pot is a great way to bring nature into your artwork. Flower pots can be drawn in a few simple steps. Here is a step by step flower pot drawing for kids.
You will be needing a pencil, sketchbook, an eraser and a micropen. Use a pencil to draw a light sketch. Once your drawing is complete you can use a micropen to draw over the sketch. Then use an eraser to remove the light sketch.
Step by step flower pot drawing for kids
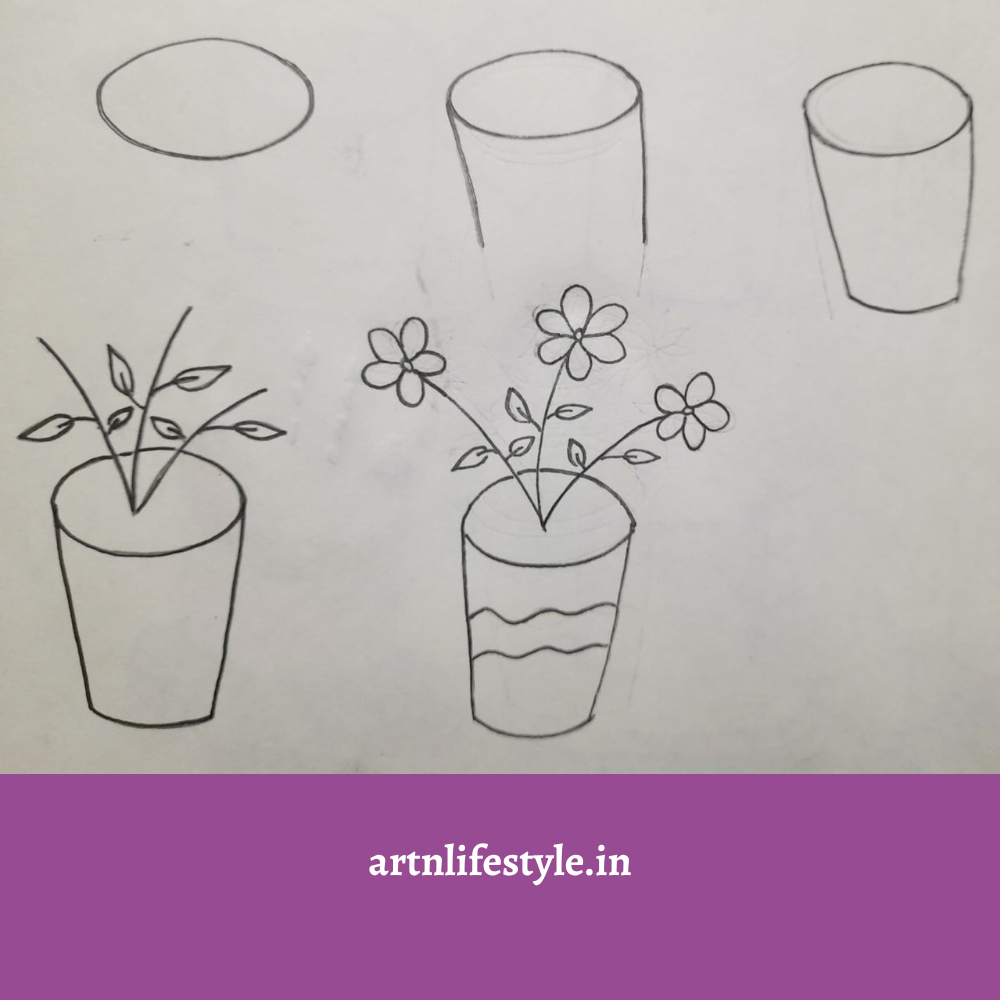
Step 1:
Draw an oval shape.
Step 2:
Draw the lines for the pot as shown in the image.
Step 3:
Next complete the pot by drawing a curved line below.
Step 4:
Then draw the stem and leaves of the plant.
Step 5:
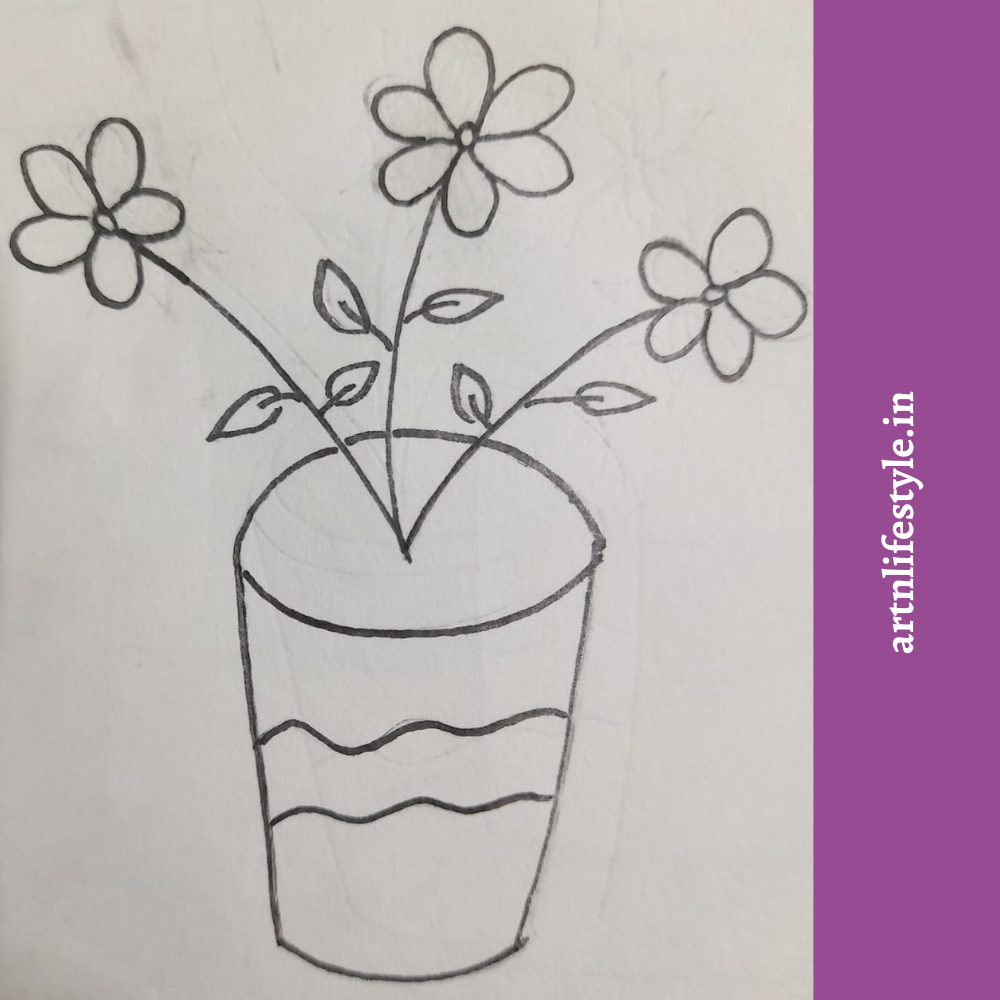
Then draw the flowers on the plant. Finally finish drawing the pot’s design.
Step 6:
Finally use a micropen to draw over the sketch. Then remove the pencil drawing with an eraser.
Conclusion:
Congratulations on learning how to draw a flower pot. Try drawing different flower types, pot designs and colours to make your drawing even more unique. Keep improving your artistic abilities and create ore beautiful artworks. Happy drawing!! Check out other drawing tutorials below.
Read more:
You May Also Like

20+ Easy doodles to draw

How to draw hibiscus step by step
